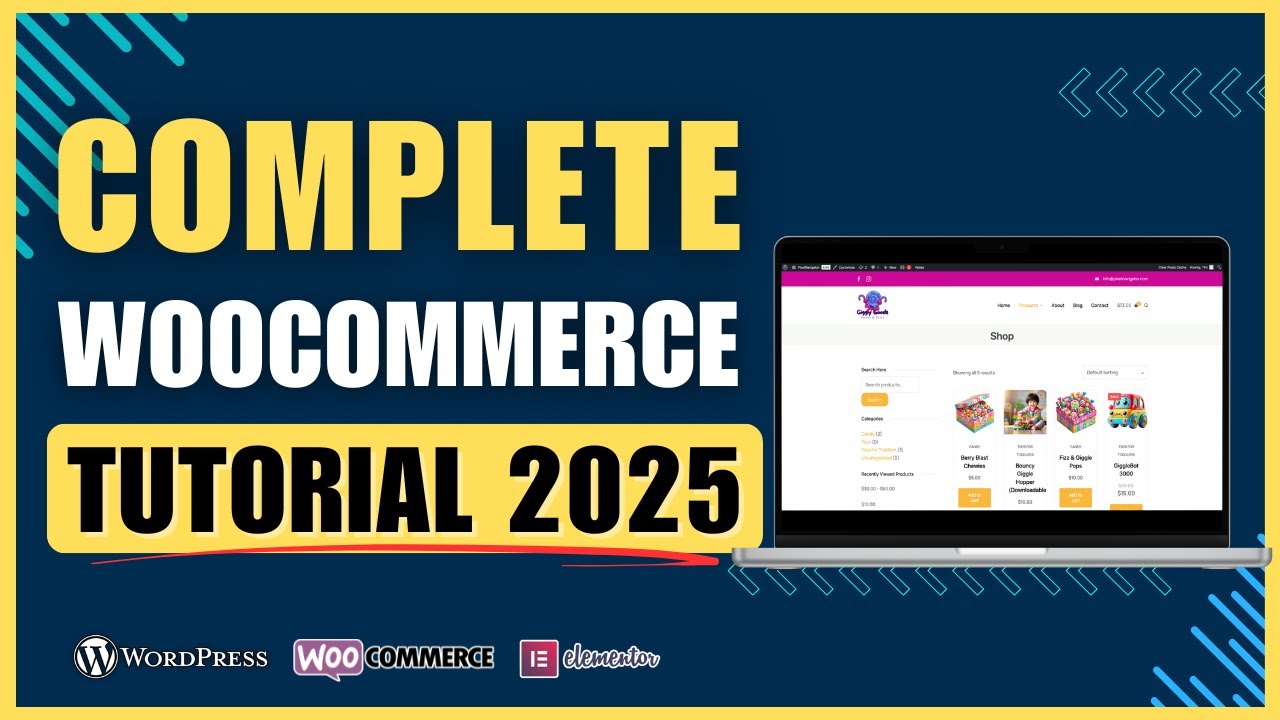
Selling products online has never been easier thanks to WooCommerce, the most popular e-commerce plugin for WordPress. Whether you want to sell physical products, digital downloads, or subscriptions, WooCommerce gives you the flexibility to create a professional online store. In this guide, we’ll cover everything you need to set up a WooCommerce store in 2025, including installation, product setup, payment gateways, shipping options, and store optimization.
By the end of this post, you’ll be able to launch a fully functional online store that is responsive, secure, and ready to generate sales.
Step 1: Install WordPress and WooCommerce
Before setting up WooCommerce, you need a WordPress website. Choose a reliable hosting provider like SiteGround, Bluehost, or Hostinger, and install WordPress.
To install WooCommerce:
- Log in to your WordPress dashboard.
- Navigate to Plugins → Add New.
- Search for WooCommerce.
- Click Install Now → Activate.
- Follow the setup wizard to configure your store basics (currency, location, shipping, and payments).
Pro Tip: Use a WooCommerce-compatible theme like Astra, OceanWP, or Storefront for best results.
Step 2: Configure Your Store Settings
WooCommerce has several settings to get your store ready:
General Settings:
- Store address
- Currency and measurement units
- Enable taxes if required
Product Settings:
- Choose product types: Simple, Variable, Digital, Grouped, or External/Affiliate
- Enable reviews and ratings
Shipping Settings:
- Define shipping zones and methods
- Offer flat rate, free shipping, or local pickup
Payment Settings:
- Add payment gateways like PayPal, Stripe, or Bank Transfer
- Enable cash on delivery if needed
Pro Tip: Keep your checkout process simple and user-friendly to reduce cart abandonment.
Step 3: Add Products to Your Store
Adding products is simple in WooCommerce:
Steps:
- Go to Products → Add New.
- Enter Product Title and Description.
- Choose Product Type (Simple, Variable, Digital).
- Set Product Price and Sale Price (if any).
- Add Product Images and a Gallery.
- Assign Categories and Tags for better navigation and SEO.
- Configure Inventory if selling physical products.
- Add Shipping Details and Attributes if applicable.
- Publish the product.
Pro Tip: Use high-quality images and write clear product descriptions for better sales.
Step 4: Set Up Payment Gateways
A smooth checkout experience is critical for online sales. WooCommerce supports multiple payment gateways:
- PayPal – Easy and widely trusted
- Stripe – Accepts credit/debit cards directly
- Bank Transfer – Simple for local payments
- Cash on Delivery – Optional for physical goods
Steps to configure:
- Navigate to WooCommerce → Settings → Payments
- Enable desired payment gateways
- Add API credentials for PayPal/Stripe
- Test payments in sandbox mode before going live
Pro Tip: Offer at least two payment methods to increase customer trust and convenience.
Step 5: Configure Shipping Options
Shipping is crucial for e-commerce success:
Steps:
- Go to WooCommerce → Settings → Shipping
- Create Shipping Zones (e.g., local, national, international)
- Add shipping methods: Flat Rate, Free Shipping, or Local Pickup
- Optionally, integrate with courier APIs for real-time rates
Pro Tip: Offer free shipping over a minimum order value to increase conversions.
Step 6: Optimize Your Store for SEO and Performance
SEO and speed are critical for WooCommerce stores:
SEO Tips:
- Use Yoast SEO or Rank Math for product pages
- Optimize product titles, meta descriptions, and URLs
- Use descriptive alt text for images
- Add product schema markup for rich results
Performance Tips:
- Optimize images before uploading
- Use caching plugins like WP Rocket or LiteSpeed Cache
- Enable lazy loading for product images
- Choose a fast hosting provider
Pro Tip: A fast and SEO-friendly store improves customer experience and Google ranking.
Step 7: Test Your Store Before Launch
Before going live:
- Place a test order to check checkout flow
- Test all payment gateways
- Ensure shipping rates calculate correctly
- Verify mobile responsiveness
Pro Tip: Encourage friends or colleagues to test your store and provide feedback.
Step 8: Launch and Promote Your Store
After testing:
- Announce your launch via social media, email newsletters, and blogs
- Use discounts or offers for first-time buyers
- Monitor analytics to track sales, traffic, and customer behavior
Pro Tip: Use WooCommerce analytics to optimize product listings and marketing strategies.
Conclusion & Call-to-Action
WooCommerce makes it easy to create a professional online store on WordPress. By following these steps, you can set up a fully functional e-commerce site ready to attract customers and generate sales.
If you want a custom WooCommerce store built quickly and professionally, contact me today, and I’ll handle everything from setup to launch, including responsive design, payment configuration, and SEO optimization.


